Wednesday, June 26th, 2019

Food carefully nurtured from live cultures takes time and patience to prepare, but it does taste a whole lot better. Guests often ask how I make the yoghurt. It couldn’t be easier, but if you don’t start it early enough in the day, you might have to get up at 4 o’clock in the morning (as I did today) to transfer the yoghurt from the incubator to the fridge! I started making my own yoghurt after tasting homemade yoghurt in a lovely B&B in France a couple of years before starting my own B&B. The hostess kindly invited me into her kitchen to show me her yoghurt-making equipment. This consisted of seven little glass jars which sat in an insulated pot at a constant temperature of 42 degrees C for a minimum of eight hours. I determined there and then that I too would make my own yoghurt when the time came, because I find the yoghurts sold in shops in printed plastic pots very unappealing aesthetically — they do not look good at the breakfast table. I also dislike the starch and other additives that are often used, and low-fat yoghurts are bland and unpleasantly sour. My yoghurt contains milk, cream, lactobacillus culture and nothing else. To make a reasonably thick yoghurt, you have to keep the milk at boiling point for a good 15 minutes. If you skip this step, you end up with runny yoghurt that is loose and unformed, and it seems to require a longer incubation period too. During high season I have to make yoghurt about twice a week. I have tried various types of culture, some with more success than others. At present I am using a so-called heirloom culture, which in theory can keep yoghurt perpetuating itself for a very long time, though perhaps not as long as my sourdough culture, which I started back in 2009.
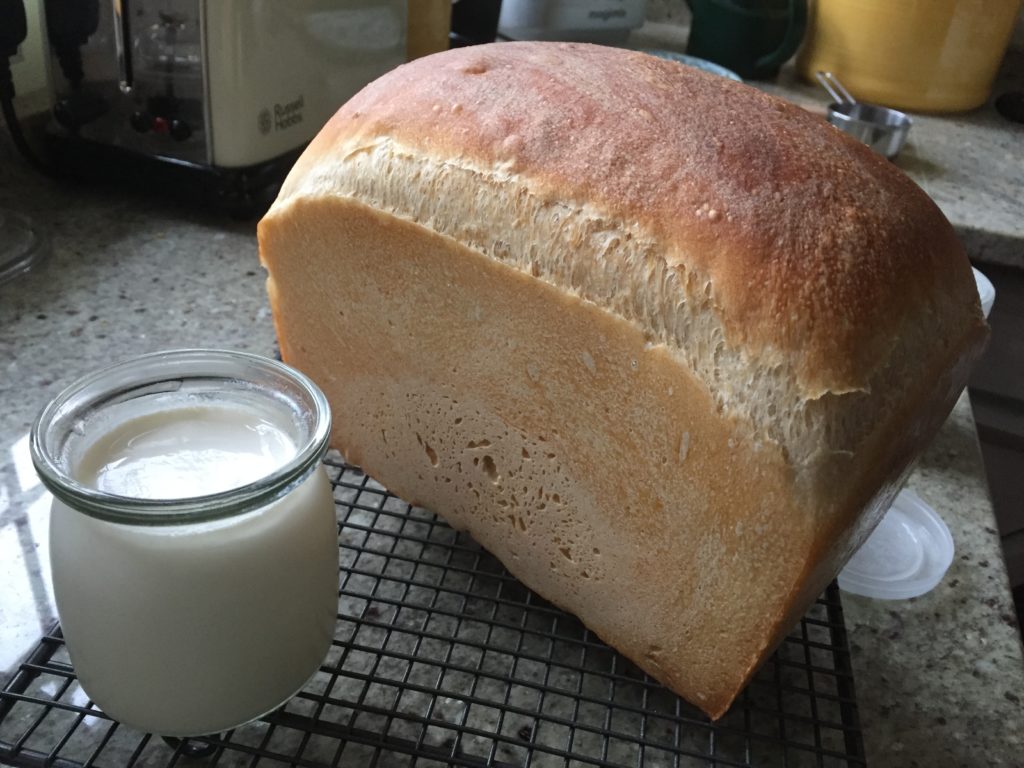
My bread-making is a two-day process. I alternate between baking a white loaf and a wholemeal loaf from stoneground whole wheat flour so that I always have some of each, as guests tend to have strong preferences for one or the other. During high season I am baking every day to keep up with demand. My bread contains flour, water, a pinch of salt and nothing else. There is no oil or fat, no sugar (except sometimes a spoonful of honey in the wholemeal loaf) and no yeast, other than wild yeasts floating about in the air. But, you ask, doesn’t bread need commercial baker’s yeast for it to rise properly? The photo of one of my white loaves above shows that it doesn’t. Adding commercial yeast is a cheat’s way of making bread — a way of speeding up the process. For a more natural and flavoursome product, you need time, and lots of it — hence the various stages of preparation that are spread over two days, or one and half, to be precise. During that time, the flavour has more time to develop while the slowly fermenting dough gradually puffs up with air bubbles. My version of the sourdough bread looks and tastes quite different from some of the mass-produced sourdoughs you find in shops, which (when you read the small print) often contain additives including yeast. The real challenge is keeping the bread fresh. Unlike shop-bought bread, my bread would be inedible after two days. I have tried various approaches, the most successful and least wasteful of which entails slicing the loaves as soon as possible, wrapping the slices in cloth and freezing them. I take out what I need the night before, allowing the slices to defrost naturally overnight so that they are ready for breakfast.
